Understanding MiniDV Tapes
What Are MiniDV Tapes?
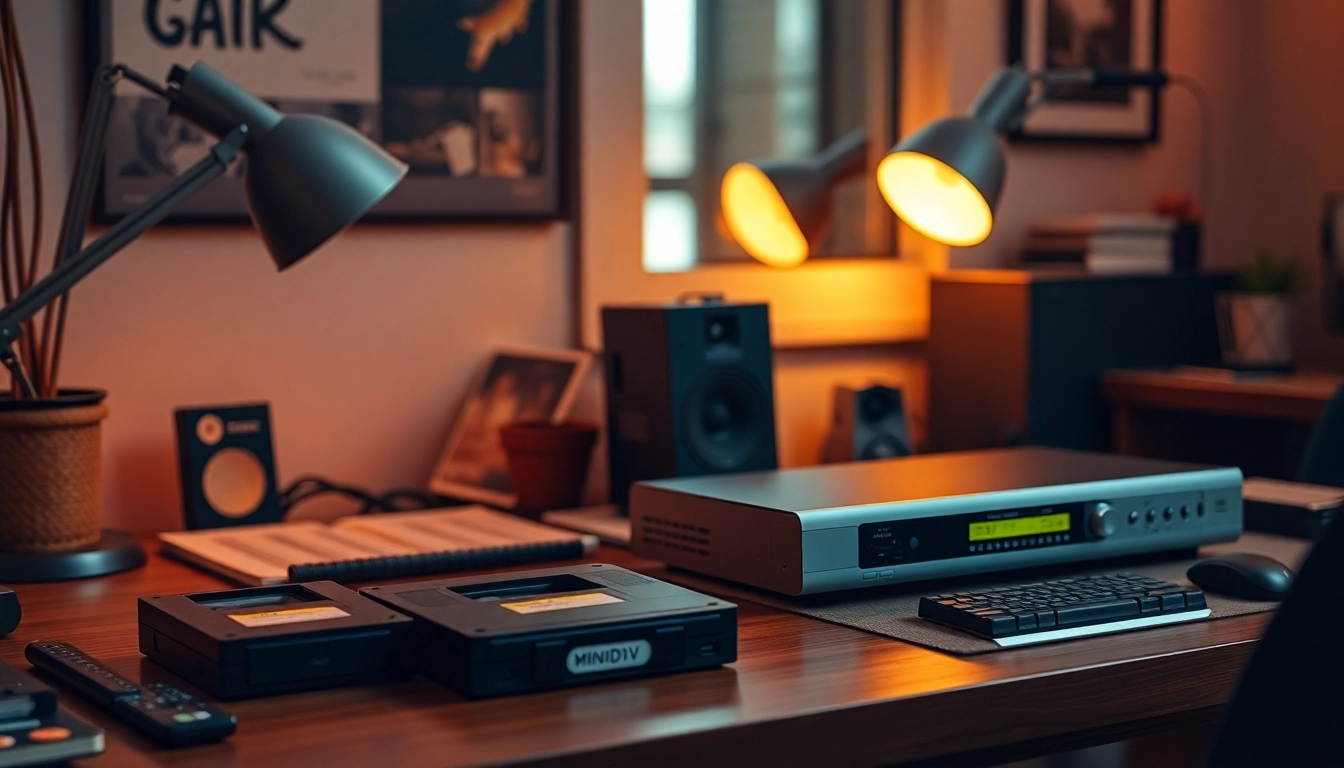
MiniDV tapes are a digital video recording medium that became widely popular in the late 1990s and early 2000s. Holding up to 60 minutes of digital video, these small cassettes were designed for camcorders and provided a more compact alternative to traditional VHS tapes. MiniDV technology allowed for high-quality digital recordings that were portable and user-friendly, making them a go-to choice for both amateur videographers and professional filmmakers.
Historical Significance of MiniDV
The introduction of MiniDV in 1995 marked a pivotal moment in the evolution of video technology. Prior to MiniDV, recording video in a digital format was cumbersome and expensive. MiniDV provided a more accessible format that democratized video creation. It was instrumental in the rise of home video recording, event documentation, and even independent film production. The sharp video quality and ease of use made it a beloved format for many filmmakers and families alike, preserving countless memories on tape.
Common Issues with MiniDV Tapes
Despite their advantages, MiniDV tapes are not without issues. Over time, tapes can degrade, leading to video quality loss, audio discrepancies, and even tape breakage. Environmental factors such as humidity, heat, and dust can further accelerate deterioration. Additionally, finding compatible playback equipment has become increasingly challenging as technology evolves. As a result, many collectors and families are seeking to convert MiniDV tapes to digital formats.
The Benefits of Converting MiniDV to Digital
Preserving Video Quality
One of the primary advantages of converting MiniDV to digital is the preservation of video quality. Digital formats are less susceptible to degradation than analog tapes. When properly converted, the crisp images and vibrant colors captured on MiniDV tapes can be maintained indefinitely. This aspect is especially important for precious family moments or irreplaceable footage of special events.
Enhancing Accessibility and Sharing
Digital files can be easily accessed on multiple devices, including computers, tablets, and phones. Sharing videos online via social media platforms or cloud storage services is also simplified after conversion. Family members separated by distance can easily enjoy shared memories without the need to ship physical tapes or equipment, thus enhancing the overall accessibility of this content.
Protecting Against Data Degradation
MiniDV tapes are prone to physical deterioration over time. As they age, the magnetic material can lose its effectiveness, leading to permanent data loss. Converting to digital not only safeguards these recordings against such degradation but also ensures they are compatible with modern playback methods. Digital formats offer a longer lifespan and can be backed up in multiple ways to prevent loss.
Tools Needed for Conversion
Best Software for MiniDV to Digital Conversion
There are various software options available for converting MiniDV tapes to digital. Popular choices include:
- Adobe Premiere Pro: A professional-level video editing software that offers advanced features for video conversion and editing.
- iMovie: A user-friendly application for Apple users that supports video editing and conversion.
- Windows Movie Maker: An easy-to-use program for Windows users, though it has limited features compared to professional software.
Choosing the right software will depend on your skill level and specific needs, but each of these options provides robust tools for converting and editing video files.
Recommended Hardware and Accessories
To effectively convert MiniDV tapes to digital, the following hardware and accessories are recommended:
- MiniDV Camcorder: Ensure you have a working MiniDV camcorder that can play back your tapes.
- FireWire/IEEE 1394 Cable: This connection is commonly used to transfer video data from camera to computer.
- Video Capture Card: If your computer lacks a FireWire port, consider using a video capture card to connect your camcorder.
- External Hard Drive: A reliable external hard drive is essential for storing large video files and backups.
Setting Up Your Conversion Station
Creating a comfortable and effective workspace for your MiniDV to digital conversion process is crucial. Ensure you have:
- A stable and well-lit area to set up your equipment.
- All necessary cables and hardware easily accessible.
- A computer with adequate storage space and processing power for video editing and conversion.
Organizing your setup can help streamline the conversion process and minimize potential disruptions.
Step-by-Step Guide to Convert MiniDV to Digital
Preparing Your Equipment
Before starting the conversion process, ensure that all your equipment is functioning properly. Check the battery life of your camcorder, clean the tape heads if necessary, and have your computer ready with the required software installed. It’s advisable to run a test on a short segment of the tape to ensure the playback quality is what you expect.
Executing the Conversion Process
Follow these steps to convert your MiniDV tapes to digital:
- Connect your MiniDV camcorder to your computer using the FireWire/IEEE 1394 cable.
- Open your chosen video editing software and select the “Capture” or “Import” option.
- Play the MiniDV tape, and in the software, hit “Record” to capture the footage.
- Once the desired section is captured, stop the recording in the software and save the file in your preferred format.
After the conversion process, review the video files to ensure the quality is as expected and make any necessary edits.
Post-Conversion Tips for Maintenance
Once your MiniDV tapes have been successfully converted, proper maintenance of both the tapes and the digital files is essential:
- Store your digital files in multiple locations, such as cloud storage and external hard drives.
- Label and categorize your files for easy access in the future.
- Check the integrity of your storage solutions regularly.
By maintaining organized and secure copies, you will ensure your precious memories are safeguarded for years to come.
Advanced Tips for MiniDV to Digital Conversion
Editing Your Converted Videos
After conversion, consider editing your videos to enhance their quality or condense longer recordings. Utilize transitions, filters, and editing tools in your video software to create a polished final product. Trimming unnecessary footage and addressing color corrections can significantly improve the viewing experience of your digital videos.
Storing and Archiving Digital Files
Storing your digital files effectively is crucial for long-term preservation. Use formats such as MP4 or MOV for universal compatibility. Consider creating backups on multiple devices and employing cloud storage solutions to prevent data loss. Regularly update your storage devices and transfer your files to newer technologies as needed, ensuring they remain accessible.
Best Practices for Future Conversions
When planning future conversions, consider the benefits of maintaining a systematic approach. Always keep updated backup copies, test your tapes before conversion, and familiarize yourself with the latest software and hardware advancements. Engaging with community forums or professional groups can offer additional insights and support throughout the process.